 graphical user interface, application" width="960" height="720" />
graphical user interface, application" width="960" height="720" />
To build a computer from scratch, careful planning and a clear understanding of the required components are necessary. A well-prepared checklist is important to ensure that all the necessary parts are accounted for before the assembly begins. The selection of components involves compatibility checks and consideration of the budget and performance requirements.
The motherboard, CPU, and GPU are the core components of the computer, which determine its capabilities and performance. RAM is another crucial component that affects the efficiency of multitasking. The Power Supply Unit (PSU), which converts electrical power to a form that the computer can use, should not be forgotten, and the case, which houses and protects all the components, is also important.
Assembling your own computer can be both exciting and rewarding. Let’s make it a success! Before you start picking parts, here’s a breakdown of the essential components you’ll need.
These parts are absolutely necessary to make your PC run.
| Component | Purpose | Notes |
|---|---|---|
| CPU (Processor) | The brain of your computer. Handles most calculations and instructions. | Consider your intended use (gaming, productivity, etc.) to choose the right CPU. |
| Motherboard | The backbone of the system. Connects all your components together. | Ensure it’s compatible with your chosen CPU and has the features you need. |
| RAM (Memory) | Provides short-term storage for active programs and data. | More RAM generally means smoother multitasking. 8GB is the bare minimum, 16GB or more is recommended. |
| Storage | Where you store files, programs, and the operating system. | Consider a mix of HDD (for bulk storage) and SSD (for speed, especially the OS drive). |
| Graphics Card (GPU) | Handles graphics rendering, especially important for gaming and video editing. | Not strictly necessary if you don’t need powerful graphics. |
| Power Supply Unit (PSU) | Supplies power to all components. | Choose the right wattage based on your other components. A little extra headroom is a good idea. |
| Case | Houses and protects your components. | Choose a size and design based on your needs and aesthetics. |
These might not be strictly essential for your PC to function, but they’ll complete the experience:
Pro Tip: Use a builder site like https://pcpartpicker.com/ to streamline the process of picking parts.
Building a computer requires careful selection of components for optimal performance and compatibility. Each part plays a critical role in the system’s overall function.
| Component | Description |
|---|---|
| Central Processing Unit (CPU) | The brain of the computer, responsible for processing instructions and data. |
| Motherboard | The main circuit board that connects all other components. |
| Memory (RAM) | Temporary storage for data currently being used by the CPU. More RAM allows for smoother multitasking and running demanding applications. |
| Storage | Drives that store your operating system, programs, and personal files. Two common options are: Solid State Drive (SSD): Faster, quieter, but typically more expensive. Hard Disk Drive (HDD): Slower, but offers more storage capacity for the price. |
| Graphics Processing Unit (GPU) | Processes images and graphics, essential for gaming, video editing, and other graphics-intensive tasks. Not required for basic use. |
| Power Supply Unit (PSU) | Provides power to all other components. Choose a wattage rating that meets the combined power needs of your chosen components. |
| Case | Houses and protects all the other components. Comes in various sizes and with different cooling options. |
A motherboard connects all the PC parts. Choose one with the right socket for your CPU and enough slots for RAM and expansion cards. Common form factors include ATX and Micro-ATX, offering different numbers of slots and features. Check the chipset compatibility, as it determines which processors it can support.
It is crucial to match the motherboard with the CPU. Both Intel and AMD CPUs have specific socket types, like Intel’s LGA 1151 or AMD’s AM4. The chosen motherboard must support the corresponding socket type. An ATX motherboard with more expansion and memory slots might be ideal for future upgrades.
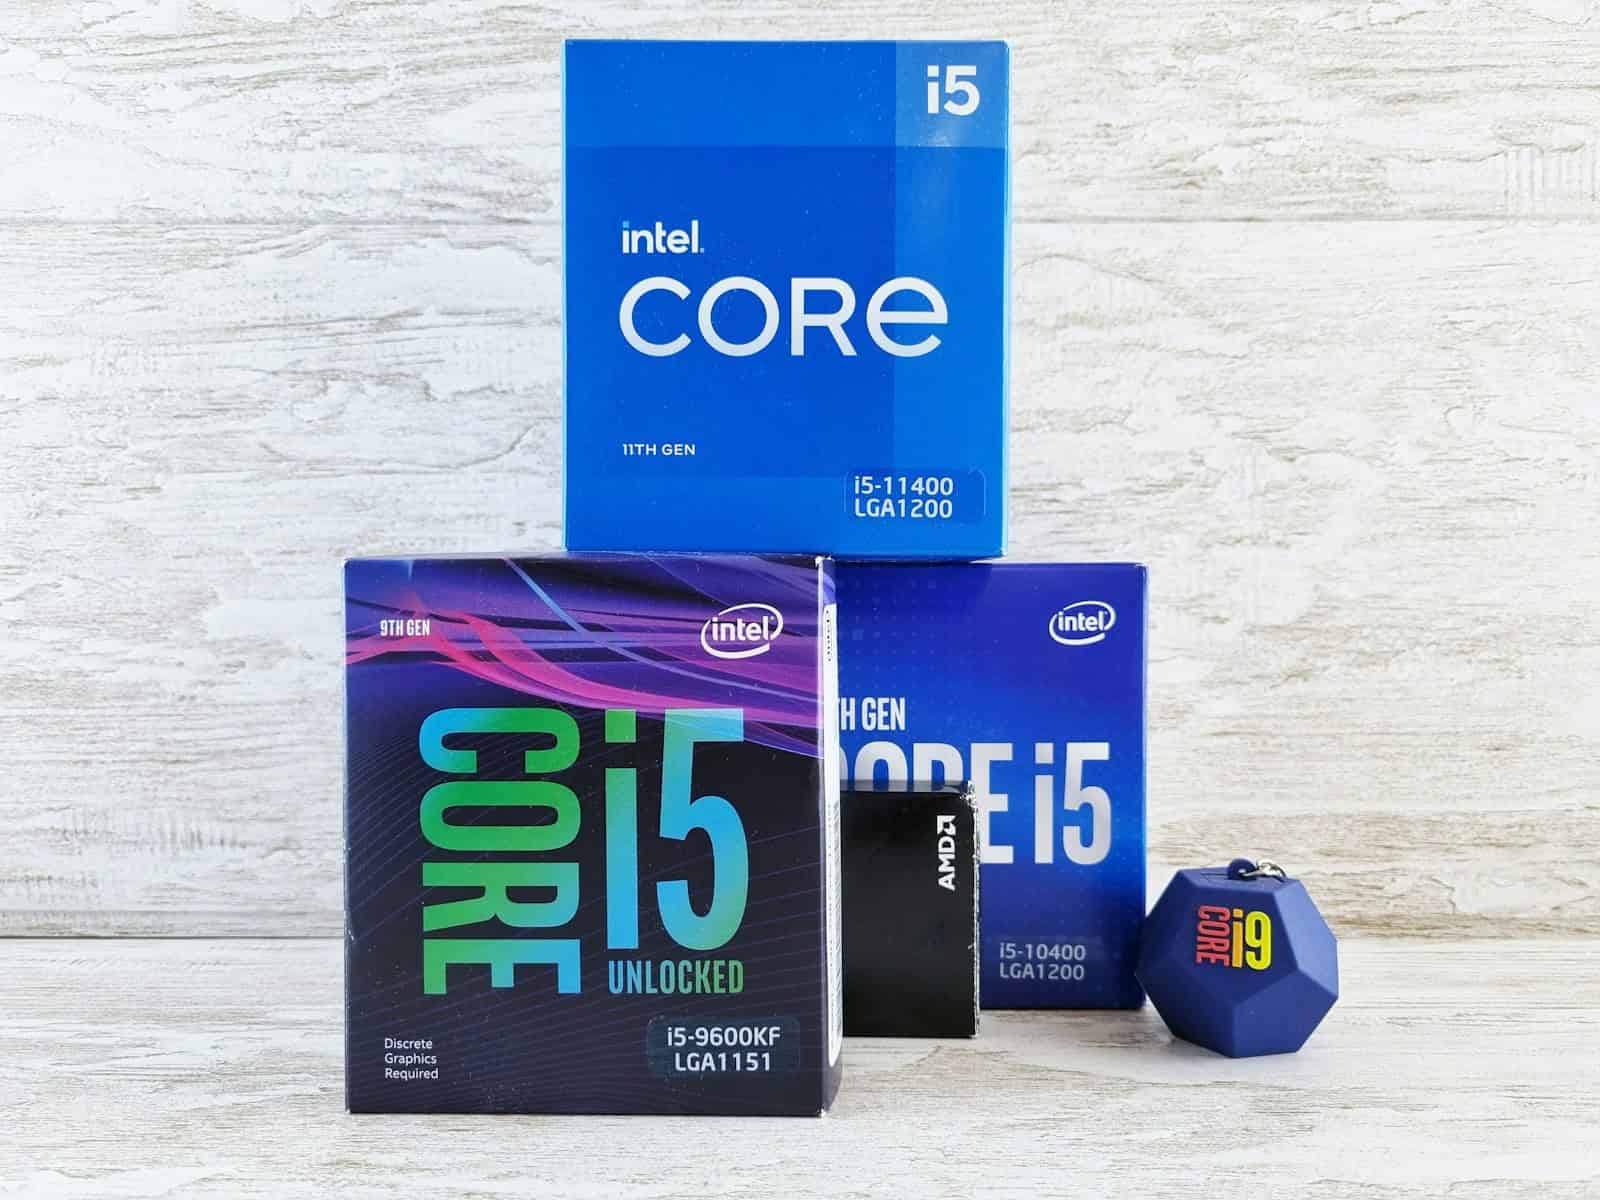
The CPU, or processor, is the brain of the PC. Match the CPU to the motherboard’s socket type—AMD processors fit AM4 sockets, while Intel CPUs use LGA 1151, among others. Apply thermal paste to the CPU before mounting the cooler to prevent overheating. The cooler’s instructions guide its installation.
RAM (memory) is vital for multitasking and speed. Most motherboards support DDR4 or DDR5, with notches preventing incorrect installation. Follow the motherboard manual to install RAM in the correct slots for best performance, often in pairs for dual-channel operation. RAM slots on the motherboard dictate maximum memory and upgrades:
For storage, SSDs (Solid State Drives) offer speed, with options like M.2 and NVMe SSDs connecting directly to the motherboard for faster data transfer. Traditional HDDs (Hard Drives) provide larger storage. Use SATA connections for versatility or choose M.2 slots for a cleaner build without cables.
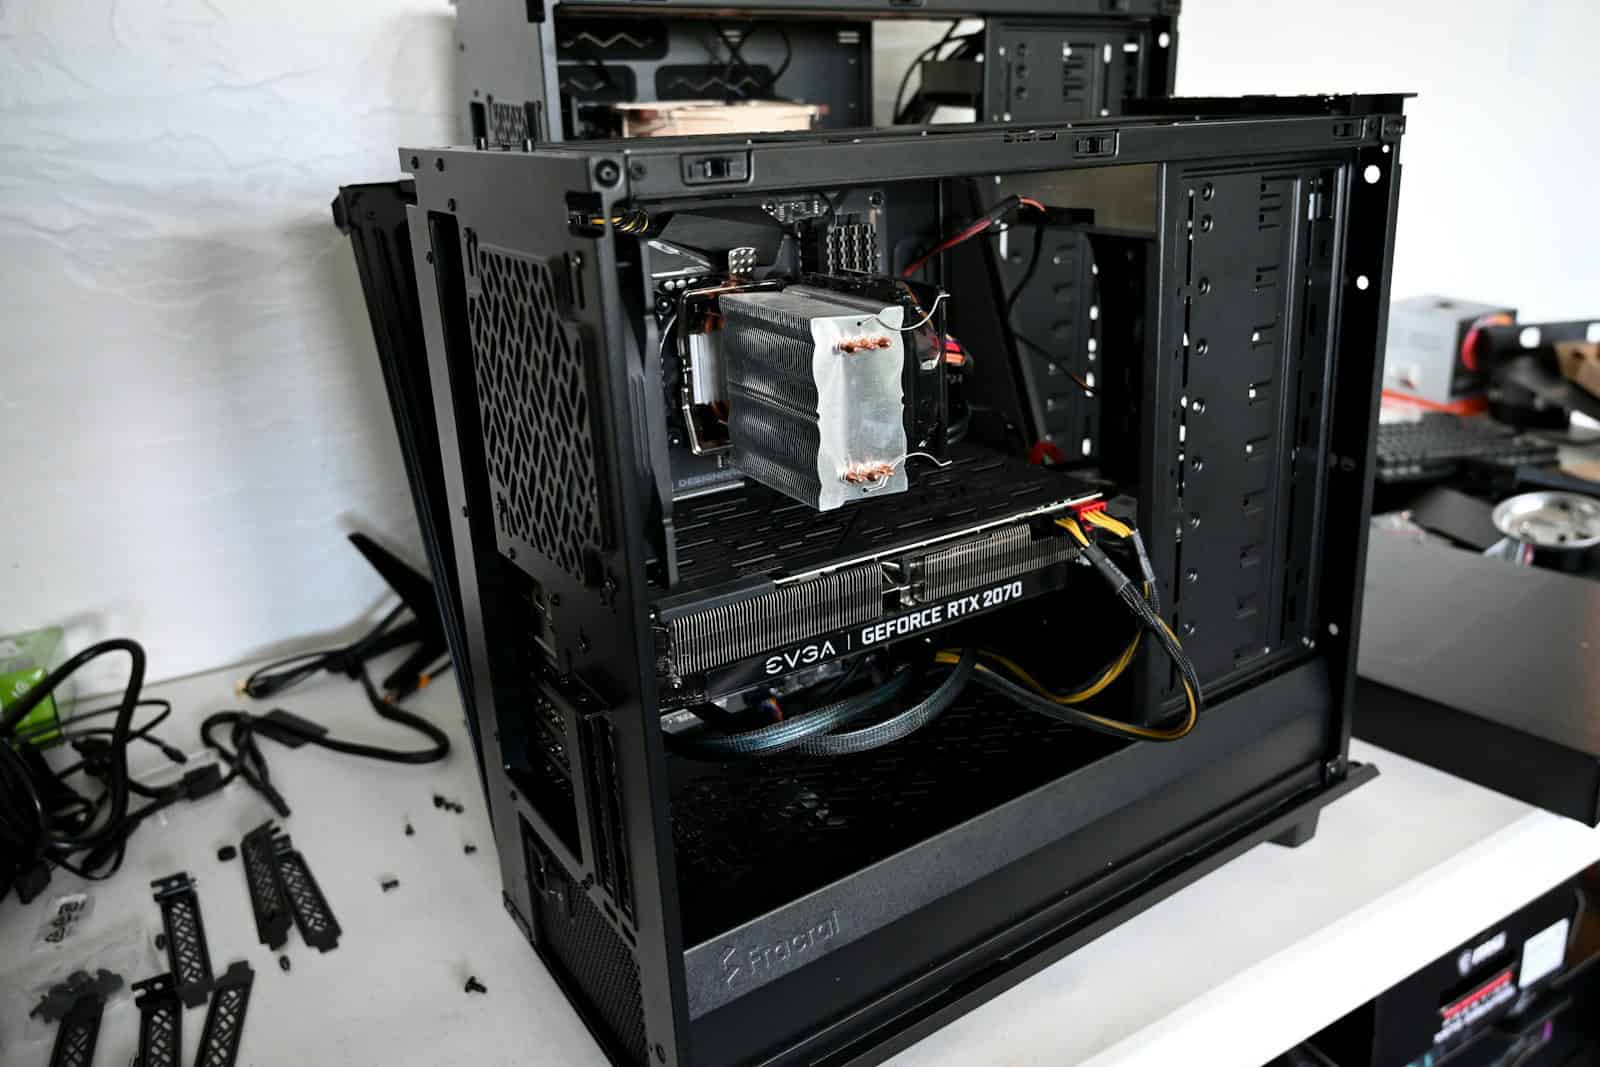
The GPU, or graphics card, boosts image processing, a must for gaming and video editing. It connects to a PCIe slot on the motherboard. Ensure the card is compatible with the slot version and has enough room in the case.
Choose a PSU (Power Supply Unit) with enough wattage for all components, often above 500W for typical builds. Modular PSUs allow removal of unused power cables for better airflow. Secure cables with zip ties, keeping them organized and away from fans.
The power supply (PSU) must provide enough power for all hardware components, and a modular PSU helps with better cable management. The case must accommodate the motherboard’s form factor and have adequate space for GPUs and cooling.
The case, or chassis, houses all the components. Match it with your motherboard size; larger ATX boards need bigger cases. Ample space supports better airflow, while fans or liquid cooling maintain the system’s temperature. Proper airflow prevents performance loss due to overheating.
| Component | Description |
|---|---|
| Aftermarket CPU Cooler | The stock cooler that comes with the CPU may be sufficient, but a higher-performance cooler can improve thermals and allow for overclocking. |
| Optical Drive (DVD/Blu-ray) | Optional for installing software or playing discs, but less common as most software is downloaded and media is streamed. |
| Wireless Network Adapter | Most motherboards come with built-in Wi-Fi, but an adapter can be added for improved performance or connection to wired ethernet. |
Begin by preparing a clean and spacious workspace. Use an anti-static mat to prevent damage from static electricity and consider wearing an anti-static strap. Gather the necessary tools such as various screwdrivers and keep the hardware parts organized. Start with the motherboard; place it outside the case on a flat surface. Install the CPU by carefully placing it in the socket, ensuring the markers align. Apply a small dot of thermal paste on the CPU if it’s not pre-applied. Next, secure the CPU cooler or aftermarket cooler onto the CPU, using a retaining bracket if necessary. Lock down the memory modules in the RAM slots until they click into place. Before mounting the motherboard in the case, be sure all standoffs are correctly installed to avoid electrical shorts. Attach the motherboard with thumb screws for easier future access.
| # | Step | Description |
|---|---|---|
| 1 | Prepare Your Workspace | Find a clean, well-lit, and spacious area. Have a soft surface to place components on to prevent scratches. |
| 2 | Gather Your Tools | You’ll need a Phillips head screwdriver, anti-static wrist strap (optional but recommended), and maybe some zip ties for cable management. |
| 3 | Install the CPU | Carefully consult your motherboard manual to locate the CPU socket. Gently install the CPU, ensuring proper orientation with the indicated pins. Secure the lever or bracket to hold it in place. |
| 4 | Apply Thermal Paste (Optional) | If your CPU cooler doesn’t come pre-applied with thermal paste, you’ll need to put a pea-sized amount in the center of the CPU. |
| 5 | Install the CPU Cooler | Following your cooler’s instructions, attach it to the motherboard using the provided screws or mounting mechanism. Ensure proper contact with the CPU. |
| 6 | Install RAM | Locate the RAM slots on your motherboard. Gently hold the RAM sticks by the edges and align the notches with the slots. Press firmly until they click into place. |
| 7 | Prepare the Motherboard | Carefully remove the motherboard’s I/O shield (backplate) if not pre-installed. Place the motherboard on the case, aligning the screw holes with the standoffs. Secure it with screws, tightening them diagonally in a star pattern to avoid warping. |
| 8 | Install Storage Drives | Locate the storage bays in your case. Depending on your drive type (SSD or HDD), secure it with screws or use a dedicated caddy. Connect the SATA data and power cables following your motherboard manual. |
| 9 | Install the Power Supply Unit (PSU) | Position the PSU in the designated area of your case. Secure it with screws and connect the main 24-pin power cable to the motherboard. |
| 10 | Connect Front Panel Connectors | Locate the small headers on your motherboard for the power button, LED lights, USB ports, and audio jacks on your case’s front panel. Consult your motherboard manual to identify the correct pins and connect them carefully. |
| 11 | Install the Graphics Card (Optional) | If using a dedicated GPU, carefully insert it into the PCIe slot on your motherboard. Secure it with a screw and connect any additional power cables required. |
| 12 | Cable Management | Route all the cables neatly behind the motherboard tray. Use zip ties (optional) to bundle cables together for better airflow and a cleaner look. |
| 13 | Close the Case and Connect Peripherals | Carefully put on the case’s side panel and tighten the screws. Connect your monitor, keyboard, mouse, and other peripherals. |
| 14 | Power On and Test | Plug in the power cable and turn on the PSU switch (if it has one). Press the power button on your case and listen for the fans starting. Look for a display output on your monitor. |
| 15 | Install Operating System | If everything seems functional, you can proceed with installing your operating system of choice (e.g., Windows, Linux) on your storage drive. |
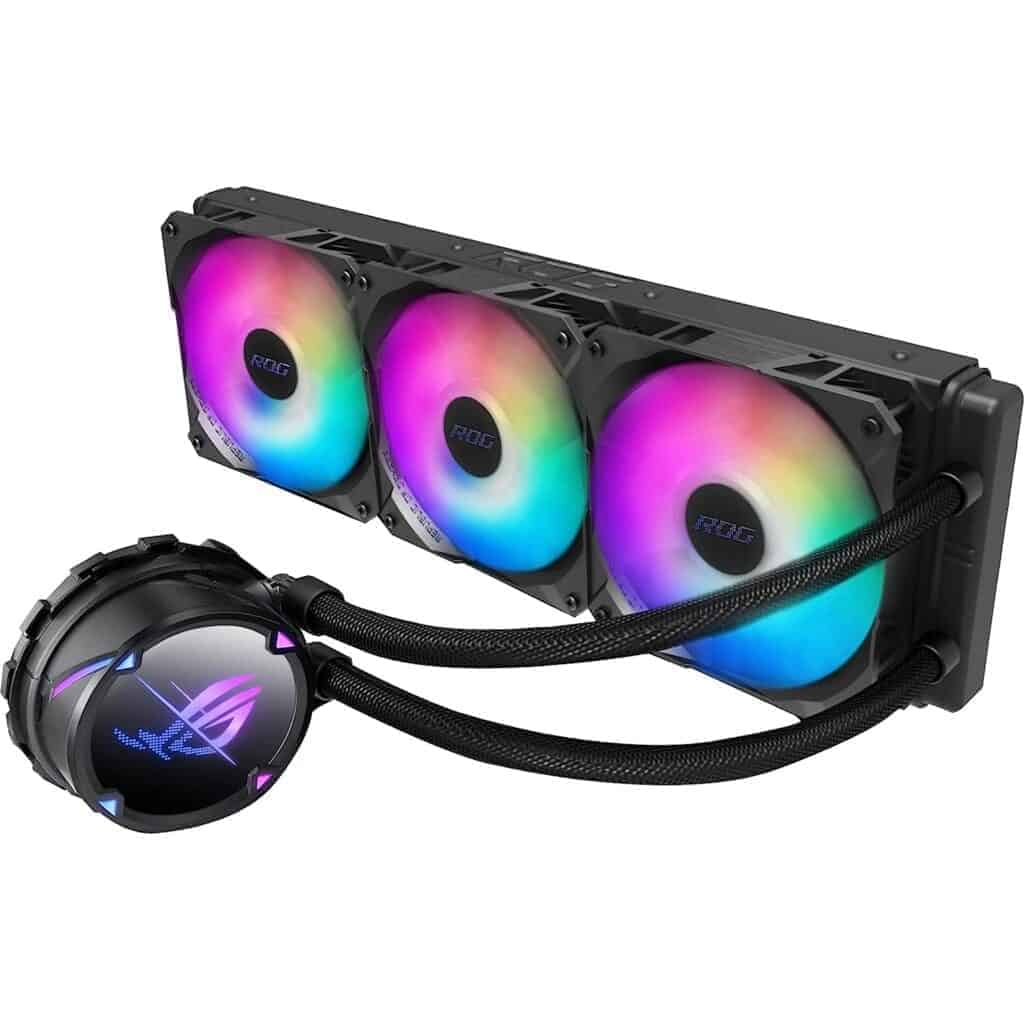
Cooling is essential to keep the PC running optimally. After mounting the CPU cooler, install any additional fans or cooling systems the case supports. Most cases have designated spots for fans or liquid cooling radiators. Ensure fans are positioned to create an effective airflow path through the case, typically with front or bottom fans drawing in cool air and top or rear fans expelling warm air. Secure each fan with screws and connect them to the appropriate headers on the motherboard. When using a liquid cooling solution, align the radiator and pump according to the instructions, and check all connections for leaks.
Good cable management improves airflow and gives your build a polished look. Route cables behind the motherboard tray using the available channels and cutouts. Use zip ties to bundle cables together and prevent them from obstructing air circulation. Tuck away excess cable length behind the case’s back panel. Plan the routing so that cables connecting to the same area of the motherboard are grouped together. Connect all necessary cables to the motherboard and other components, including power, data, and any USB or audio connections. Place the side panels back on the case once satisfied with the cable arrangement, and make sure no cables are pinched or blocking any fans or hardware parts.
When building a PC, it’s essential to be well-informed to tackle the process with confidence. This section addresses common queries and sheds light on critical aspects of PC assembly.
A complete PC build requires a processor (CPU), motherboard, memory (RAM), storage (hard drive or SSD), power supply (PSU), graphics processing unit (GPU), a case, and cooling system (fans or liquid cooling). You may also need additional peripherals like a monitor, keyboard, and mouse for operation.
Assembling a PC includes installing the CPU into the motherboard, applying thermal paste, and attaching the CPU cooler. Next, install the RAM sticks, mount the motherboard in the case, and secure the power supply. Install storage drives, mount the GPU, and connect all power and data cables. Finally, organize the cables neatly before closing the case and connecting external devices.
The primary tool needed for PC assembly is a screwdriver for securing components. Some builds might require different screw heads, so a screwdriver set is useful. A grounding strap to prevent static electricity from damaging your PC parts is also advisable.
To ensure part compatibility, check the CPU socket type matches the motherboard. The RAM must be compatible with the motherboard’s type and speed. Ensure the case is the right size for the motherboard form factor. The power supply should provide enough wattage for all components. Graphic card dimensions should fit within the case with appropriate PCIe slot on the motherboard.
Cable management improves airflow and gives your PC a clean look. Use the cable routing options that modern PC cases provide. Bundle cables together with zip ties or Velcro straps. Route cables behind the motherboard tray when possible and only have necessary cables at the front to connect to your components.
When encountering issues, check all power connections first, then ensure the power supply switch is on. Re-seat RAM sticks and the graphics card. Check for any system beeps indicating hardware errors. Consult the motherboard manual for proper installation and troubleshooting steps. If the PC fails to boot, verify that the storage drive containing the operating system is properly connected and prioritized in the BIOS.